explore the BusinessNet
Shower cubicles solve leaky shower syndrome
Story
Last summer a family from Rochdale replaced a leaking shower enclosure for a Kinedo Eden shower cubicle from Saniflo. It all started when there was a leak and water came through the ceiling causing damage to the dining room ceiling below the bathroom, and stained the rug. Initial investigation suspected the source of the leak as cracked grout and failed silicone.
However, as the enclosure was removed there was more evidence of damage caused by the leak. The tiles inside the enclosure had moved far more than expected and were very loose. After removing the tiles, it was apparent that the plaster board was very damp and wet rot was suspected on the wooden studs.
When the shower tray and tiles from the enclosure area were removed, the floor beneath the tray and the wall studs were indeed found to be rotten with wet rot spores, which had travelled across four wall studs, causing the wallpaper in the bedroom next door to the bathroom to peel off the wall.
What follows is a step by step guide of how to resolve such a situation by installing a shower cubicle, such as the Kinedo Eden Corner Entry by Saniflo.
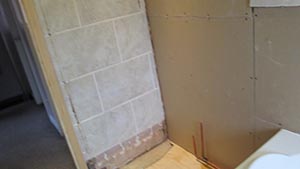
- Repair all damage
All damage must be repaired before preparing the area for a new shower cubicle. Remove and replace rotted timber studs and treat any remaining exposed timber with a wet rot timber treatment. Patch up any rotten floor timber leaving a rigid and secure base for the installation of the Kinedo Eden Corner Entry shower cubicle, complete with thermostatic shower valve. Rebuild bathroom and repair any damage to adjoining bedrooms, living room below.
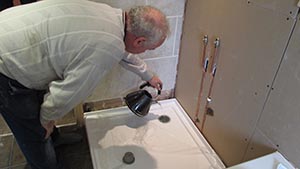
- Install supply pipes
Now install supply pipes for the shower, connect the waste to the shower tray and adjust the legs to ensure the tray sits flat on the new floor.
- Check for leaks
Pour water down the waste pipe to check for ant potential leaks.
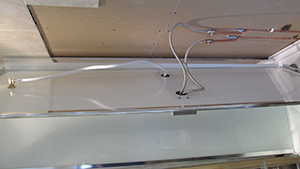
- Connect shower valve
Connect the shower valve to the glass panel and connect the overhead shower to the shower.
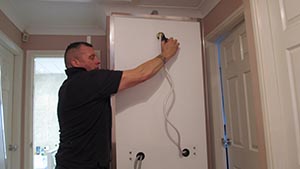
- Fix back panel
Install the first back panel insitu on the shower tray before fixing the second panel which has the shower fitted.
- Connect shower panel to pipes
The panel with the shower is then connected to the supply pipes. The shower connection pipes are clearly identified hot and cold. You may have to recommend full bore isolation valves to ensure the best flow to the shower.
- Test
Flush the shower through to test.
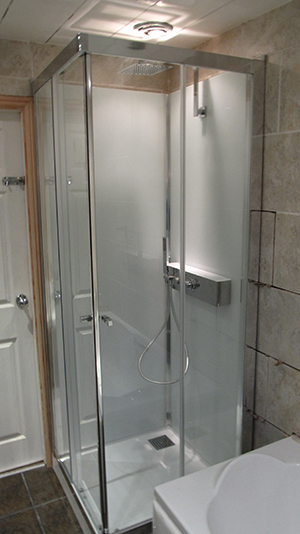
- Place back panel and sliding doors in position
The back panel is then placed into position and then the sliding doors are placed in position. The shower door connecting blocks are then fitted.
In the case of the Rochdale family, the tiles removed from the enclosure were recycled and replaced only in the areas which are now on show. This would not have been possible had the customer decided to have a replacement enclosure rather than a Kinedo leak free shower cubicle.
The plumber had to return to grout the tiles outside of the cubicle 48 hours after placing them on the wall to ensure the adhesive had dried completely.
However, the shower could still be used as there was no tile adhesive, grout or silicone in the bathing area which needed to dry.
So the next time you have to replace a leaky shower enclosure, recommend a shower cubicle to your customer. Not only will installing a new shower cubicle save them time, hassle and labour costs, they’ll have a new shower up and running in less than a day, and a shower that easy to clean and maintain in the longterm.